MacBook Pro 15 2008年末,2009年初 内置光驱更换(GS21N,GS23N,GS31N,GS41N)
- 作者:Candy
- 来源:www.bluraysupplier.com
- 发布时间::2015-09-14
Replace the optical drive in your MacBook Pro 15" Unibody Late 2008 and Early 2009.
-----------------------------------------------------------------------------------------------------------
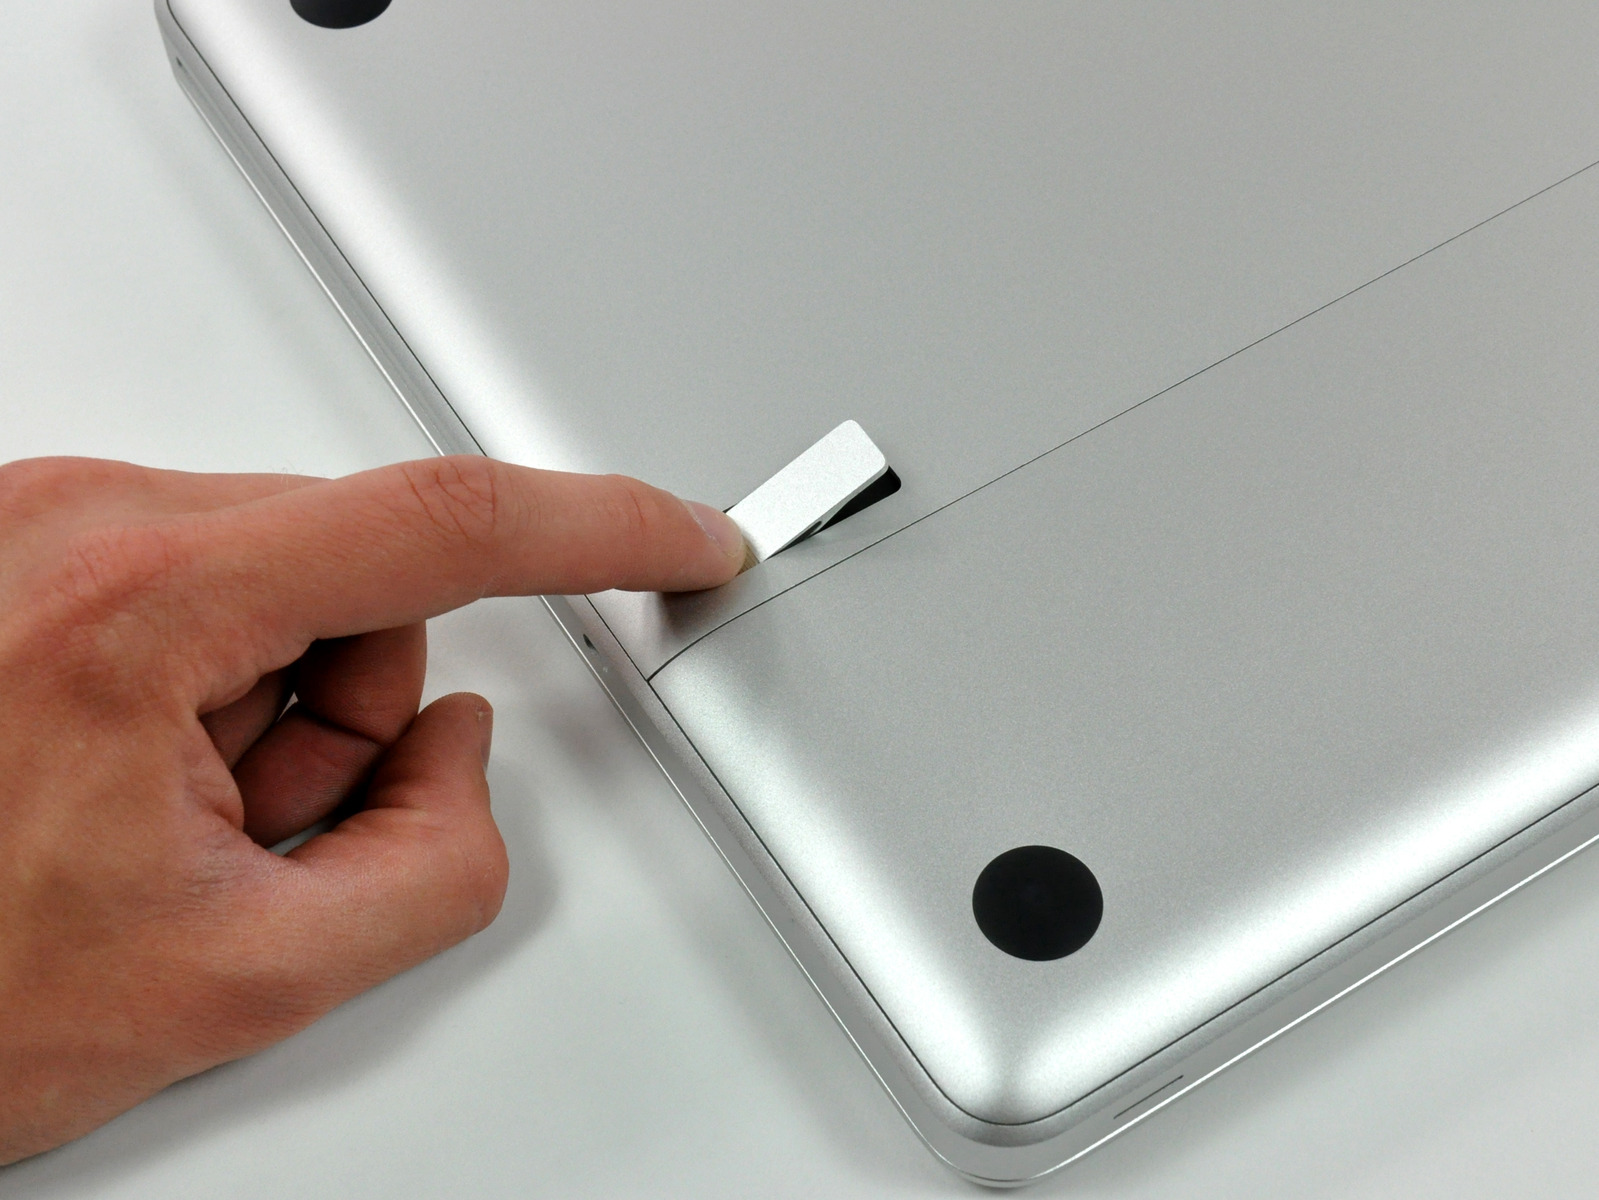
Step 1 — Access Door
1.With the case closed, place the Unibody top-side down on a flat surface.
2.Depress the grooved side of the access door release latch enough to grab the free end. Lift the release latch until it is vertical.
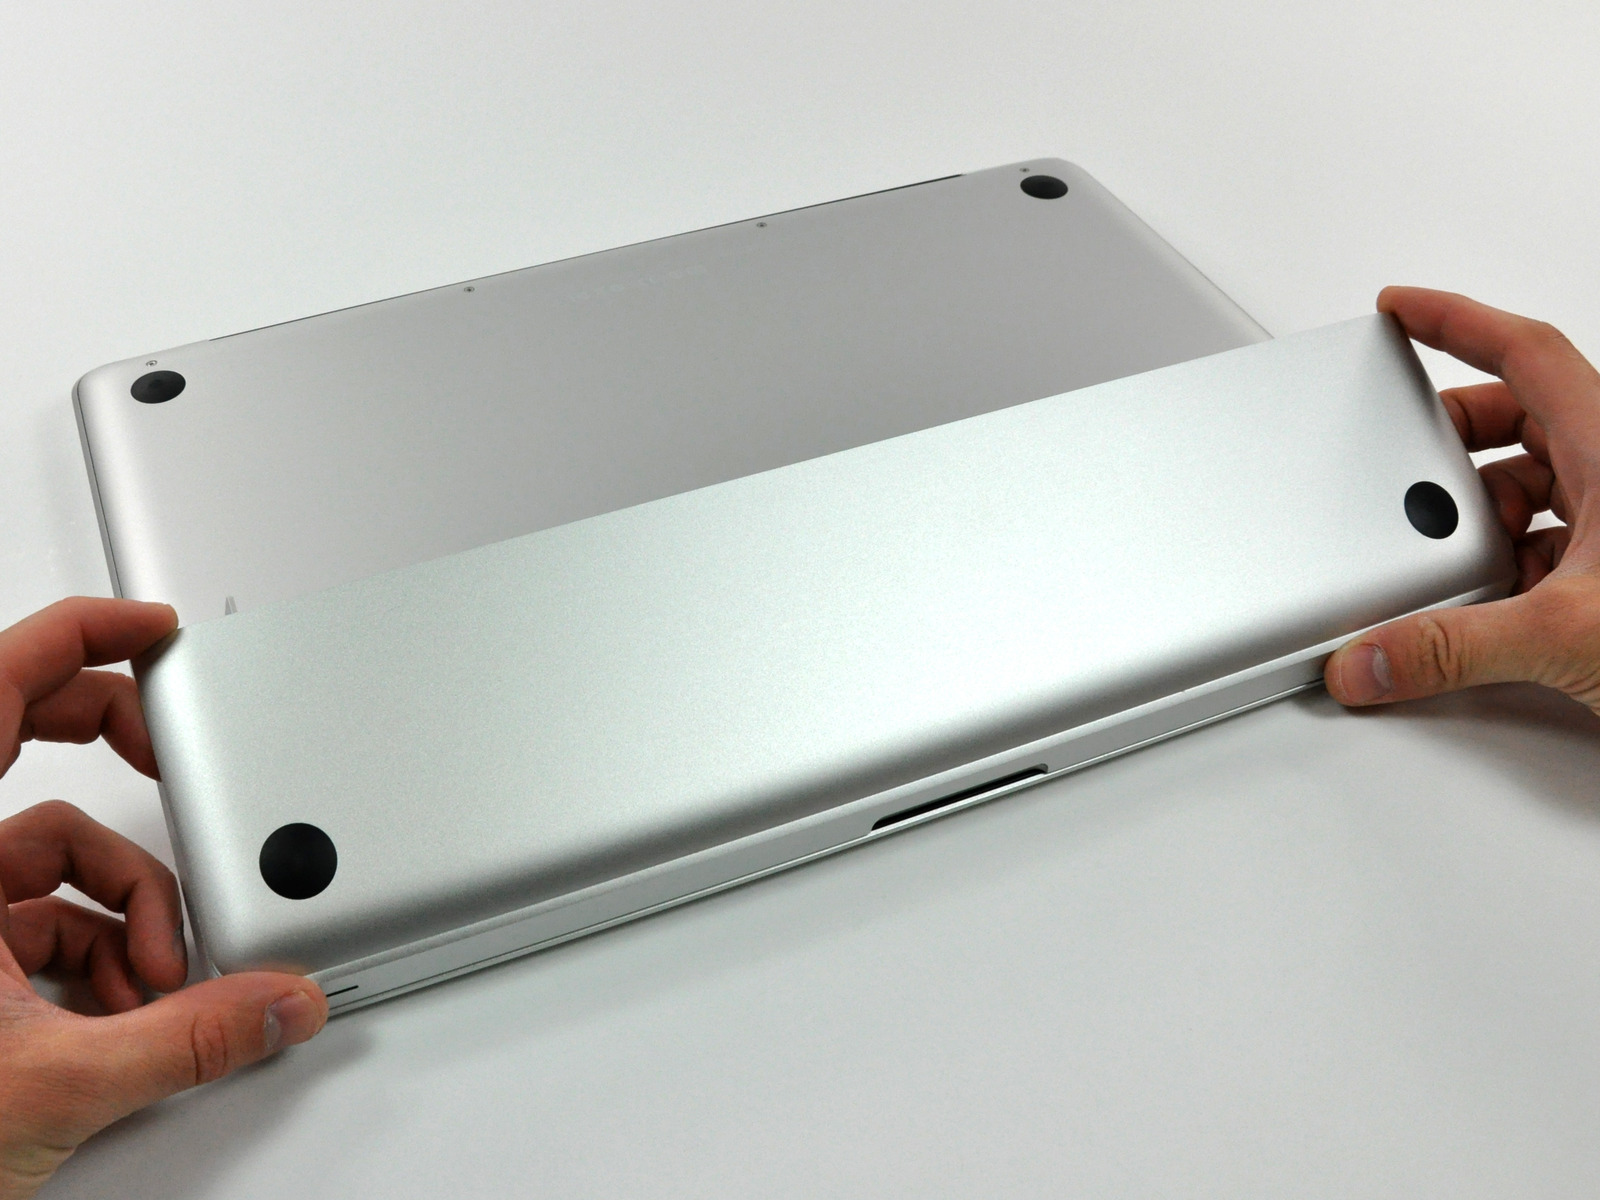
Step 2
The access door should now be raised enough to lift it up and out of the Unibody.
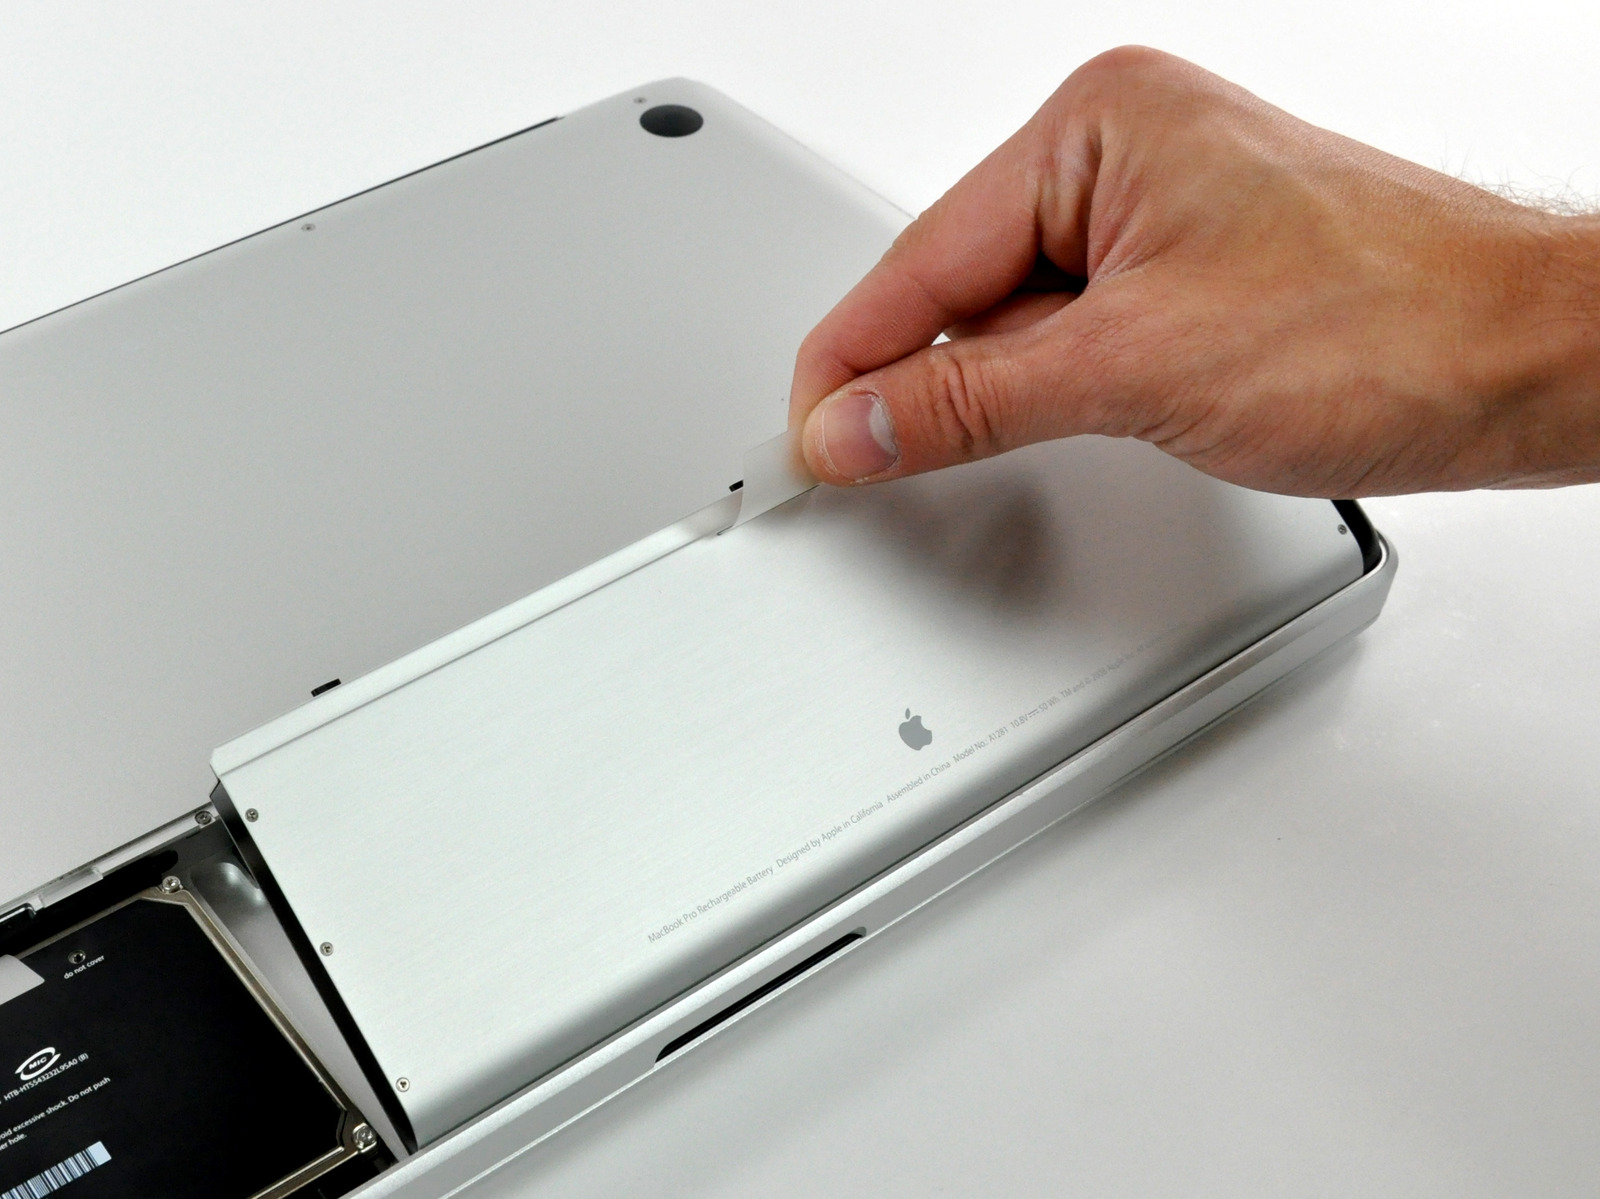
Edit Step 3 — Battery
1.Be sure the access door release latch is vertical before proceeding.
2.Grab the translucent plastic tab and pull the battery up and out of the Unibody.
3.If the latch is depressed it will lock the battery in place.
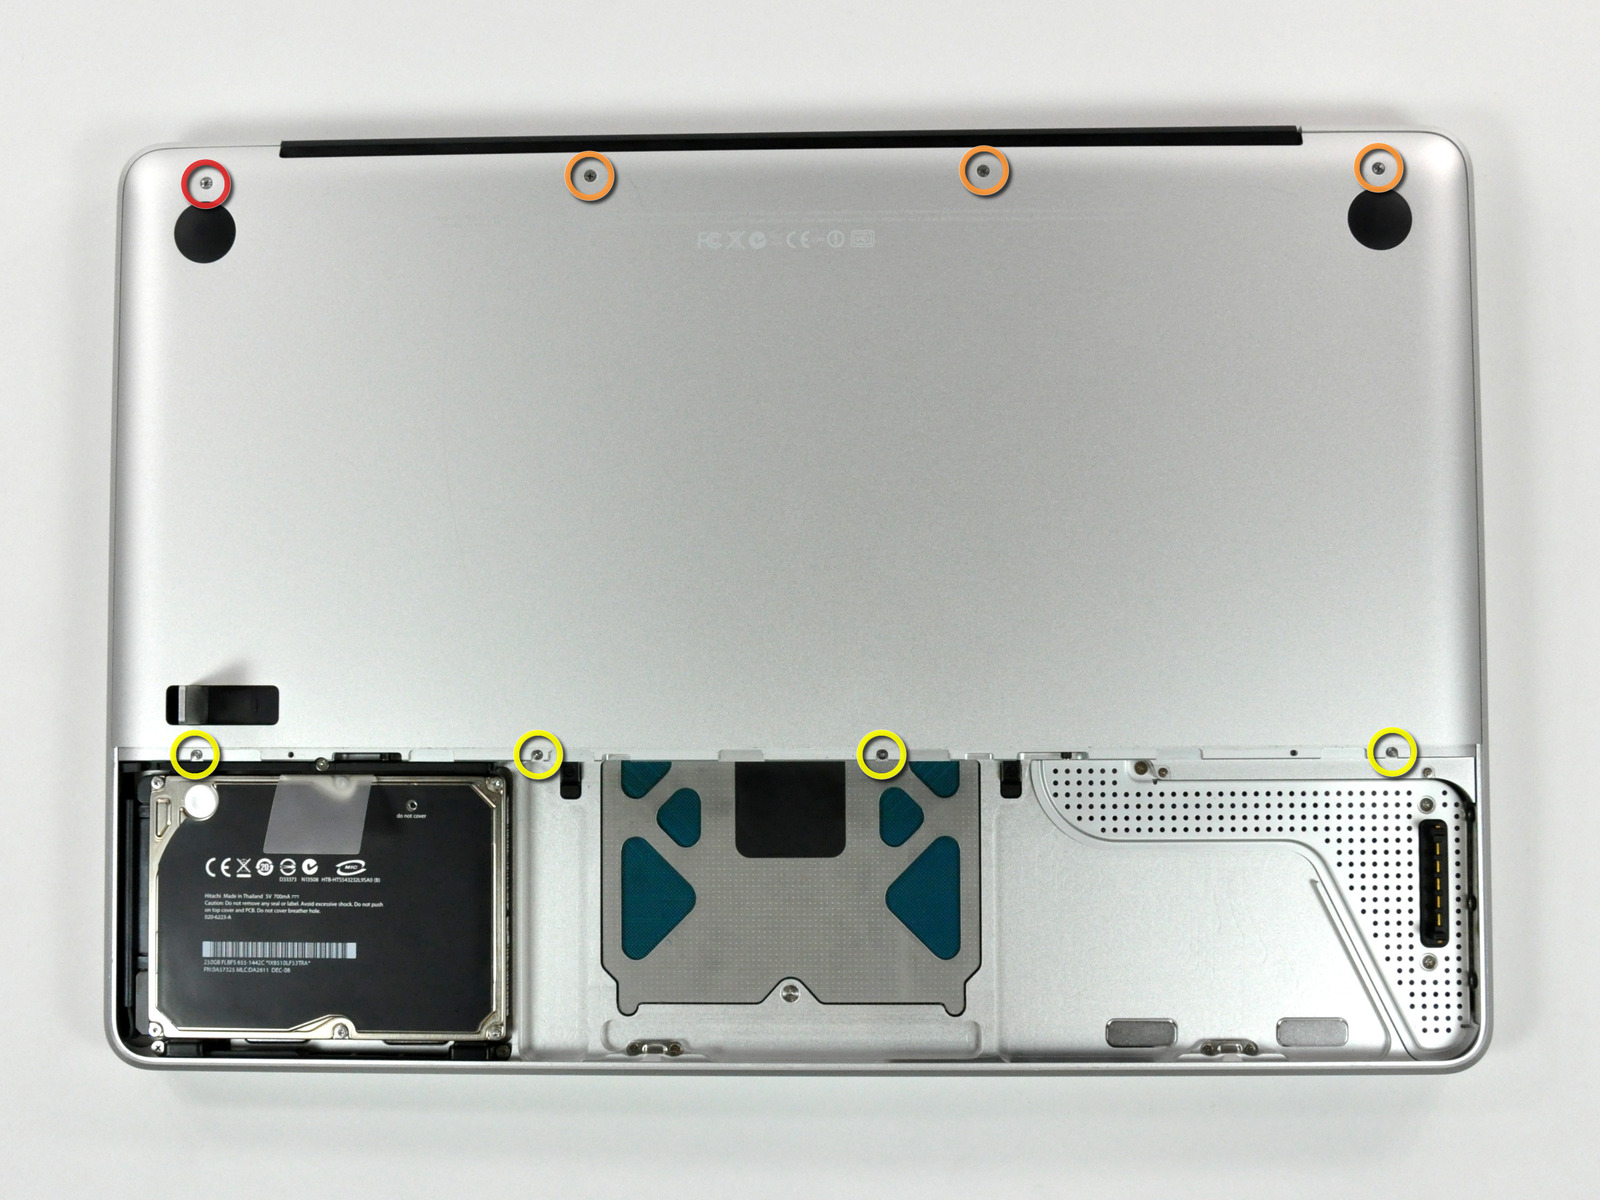
Step 4 — Lower Case
1.Remove the following eight screws securing the lower case to the chassis:
2.One 5.4 mm Phillips screw.
3.Three 14 mm Phillips screws.
4.Four 3.5 mm Phillips screws.
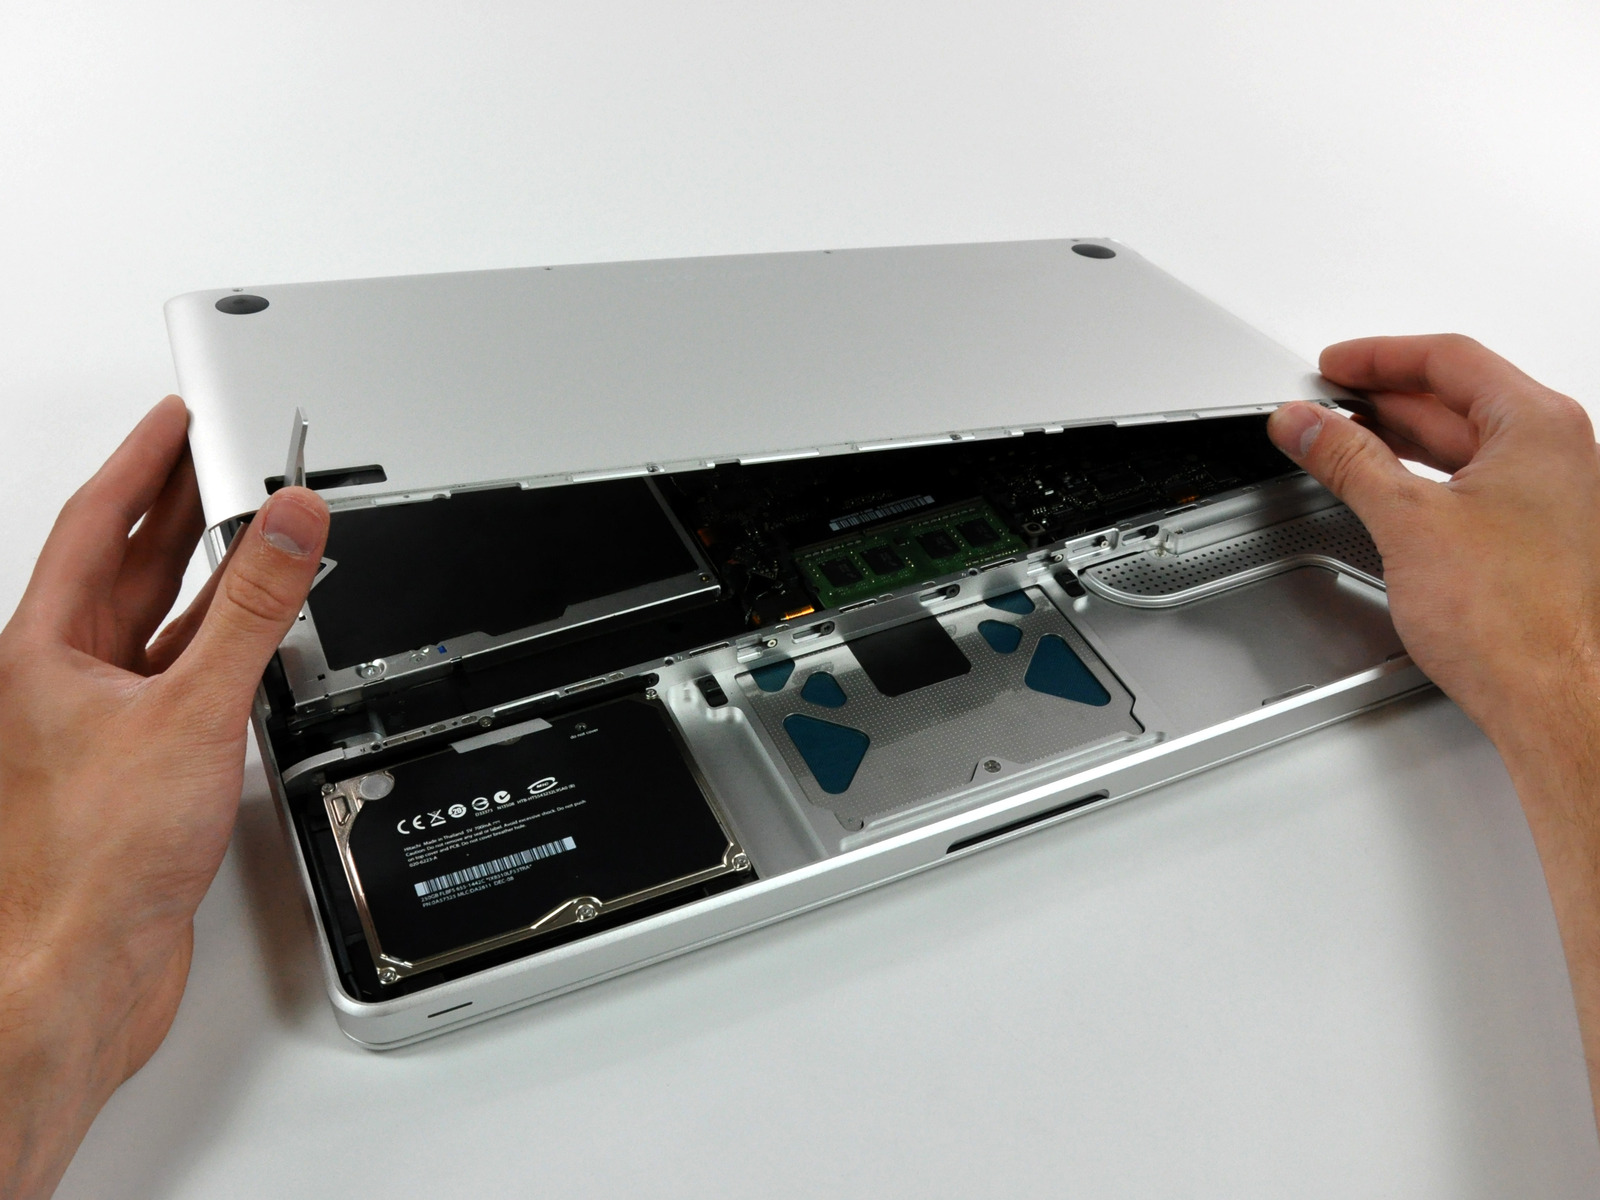
Step 5
Using both hands, lift and remove the lower case off the upper case.
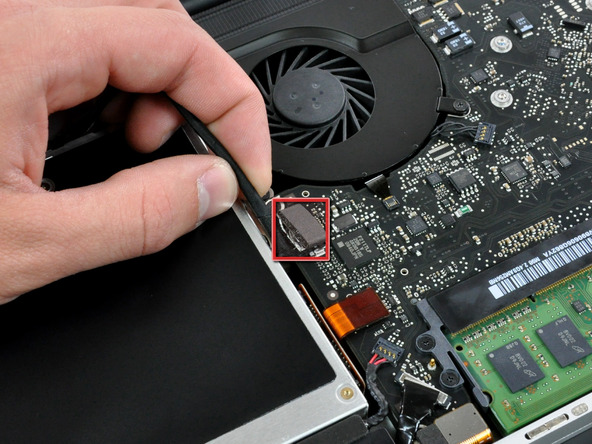
Step 6 — Optical Drive
Disconnect the camera cable by pulling the male end straight away from its socket.
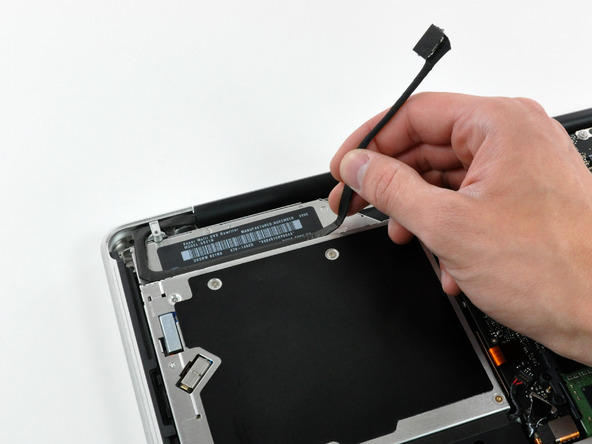
Step 7
.Deroute the camera data cable from the channel in the optical drive.
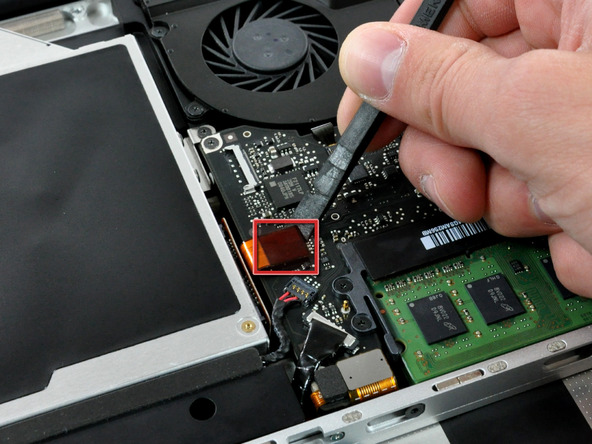
Step 8
Use a spudger to pry the optical drive connector straight up off the logic board.
Step 9
1.Remove two 8 mm Phillips screws securing the camera cable bracket to the upper case.
2.The rightmost screw may remain captive in the camera cable.
3.Lift the camera cable bracket out from the upper case.
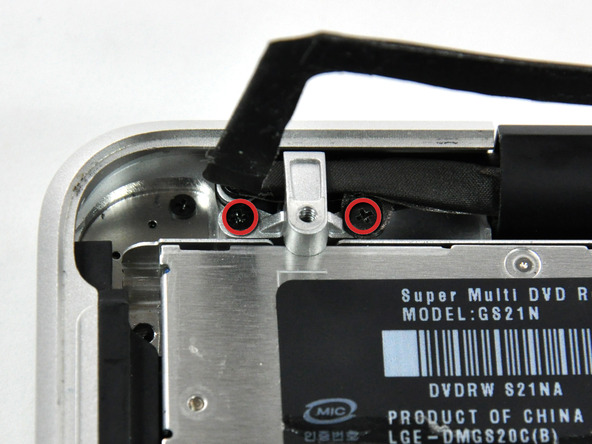
Step 10
1.Remove the following three Phillips screws securing the optical drive to the upper case:
2.One 3.5 mm Phillips screw.
3.Two 2.5 mm Phillips screws.
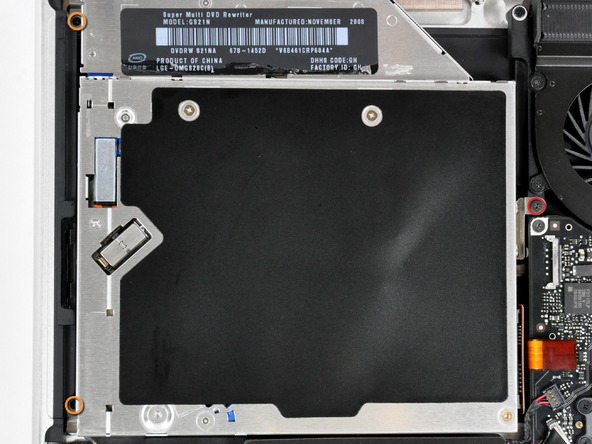
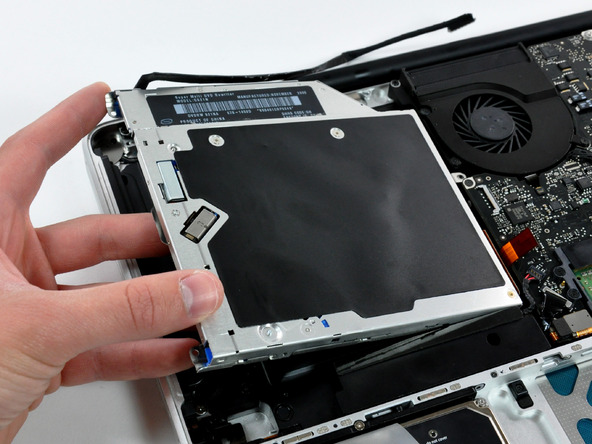
Step 11
Lift the optical drive from its left edge and pull it out of the computer.
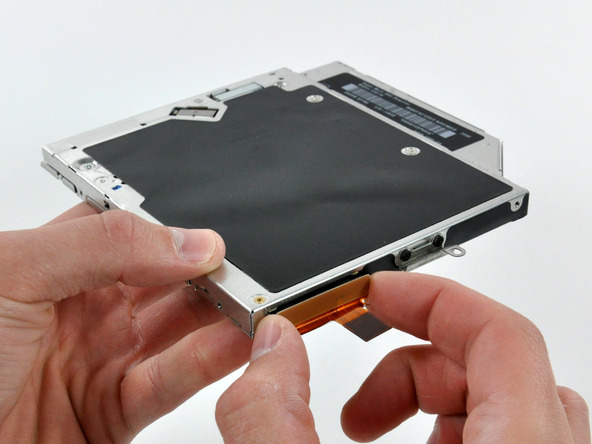
Step 12 — Optical Drive
1.Remove the optical drive cable by pulling it straight away from the optical drive.
2.If you have a CD or any other object jammed in your optical drive, we have an optical drive repair guide.
Step 13
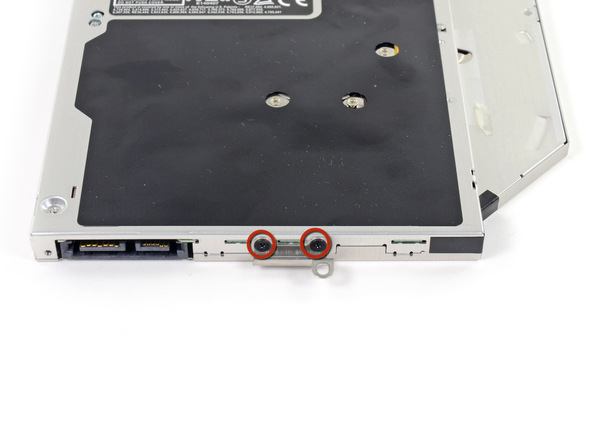
Remove the two black Phillips #0 screws securing the small metal mounting bracket. Transfer this bracket to your new optical drive or hard drive enclosure.
To reassemble your device, follow these instructions in reverse order.